Adjusting Service fee
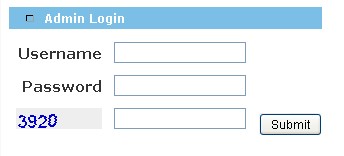
First you login as Admin, from the Admin login page. You enter your Username, Password and the 4-Digit code displayed and click 'Submit'.
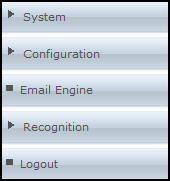
Click on Configuration in the left hand menu.
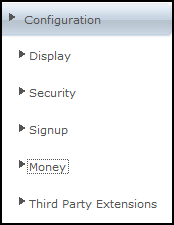
Then you click on Money.
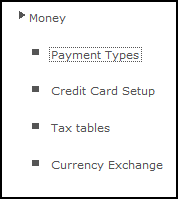
You will then click on Payment Types.
You will then be taken to a page with a list of different payment types. The payment type you want to select is Check.

Once you have chosen your specific payment type click the edit button which is located on the far right of the table.

Tickbox Options
After you have selected the correct payment method and clicked edit, the options window will appear. This new window will allow you to modify your payment type to your preferred specifications.The tickbox items control what is allowed to be paid using the selected Payment Type.For example, if you are editing type Personal Account and want this available as a payment option for Autoship, tick the "Autoship" tick box.
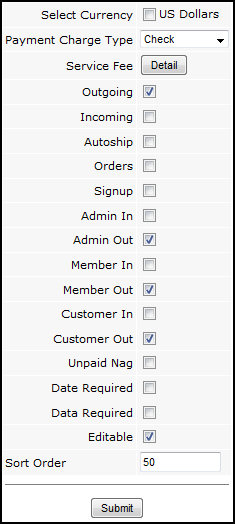
The tick marks in the Payment Type row on the previous page "Payment Type Options" refer to these tick boxes.
- Outgoing: check this box if this payment type is to be made available to members who request commissions. (Please do not use this for Gift Certificates, this box is mainly used for Withdrawals)
- Incoming:Check this box if you wish this payment type to be used for incoming payments. You will select which incoming payment types you accept it for in a the next checkboxes.
- Autoship: check this type if you want this payment type used for Autoship orders. Allowing cash or Money Order for Autoship is not a good idea as they are not real time or hands off methods so be careful with this. Talk to INS if you need help with this section.
- Orders: check this box if you want this payment type used for orders, you will be able to decide whether admin or members order in the next boxes.
- Signup: check this box if you want this payment type used for Signups, you will be able to decide if admin or members order in the next boxes.
- Admin In: check this box if you wish to make the type available to admin signup and order. For example, admin taking money orders would make sense as the signup wouldn’t happen until the application came in complete with the money order.
- Admin Out: check this box if you wish to make the type available to admin signup and order. For example admin taking money orders would make sense as the signup wouldn’t happen until the application came in complete with the money order.
- Members In: check this box if you wish to make the type available to members signup and order. For example, money order may not make sense for members transactions as they enter an order online then you have to wait to get the money order before processing or having points flow into tree. Timing may mean the member loses out on commissions if your settings allow for timing that is too tight.
- Members Out: check this box if you wish to make the type available to members signup and order. For example, money order may not make sense for members transactions as they enter an order online then you have to wait to get the money order before processing or having points flow into tree. Timing may mean the member loses out on commissions if your settings allow for timing that is too tight.
- Customers In: check this box if you wish to make the type available to members signup and order.
- Customers Out: check this box if you wish to make the type available to members signup and order.
- Date Required: check this if a date is required for the payment type used. Only applicable to Japanese furikae settings.
- Data Required: check this box if data is required to be collected for the use of this data type. And example would be paypal where you need to collect the email address of the paypal account, or gift certificate where the gift certificate code would need to be entered.
- Editable: do not use this setting unless instructed by INS.
Setting Service Fee
To set the service fee, you want to select the Detail button which is located next to the text "Service Fee"

The Outgoing/Incoming service fee window will pop up. You can add, change or remove lines for each currency.

Adding a new currency row:
If there is more than one row, be sure to use the new row (which is the lowest row in the list).
Set values for the columns on the lowest row:
- Note: if you set a flat fee and a percentage they will both be charged.
- Currency: choose a currency from the droplist.
- Outgoing Fee: the flat service fee for any withdrawal type. Specify a fee amount to be charged if you want to use flat fee amounts.
- Outgoing Fee%(0.10=10%): the percentage service fee for any withdrawal type. Specify a percentage value of the transaction, entered as a decimal (so 10% would be 0.10) if you want to use this.
- Incoming Fee: the flat service fee for any deposit type. Specify a fee amount to be charged if you want to use flat fee amounts.
- Incoming Fee%(0.10=10%): the percentage service fee for any deposit type. Specify a percentage value of the transaction, entered as a decimal (so 10% would be 0.10) if you want to use this.
Once you are happy with the values entered, click the 'Add' button at the row end:

The new row will appear.
Modifying an existing currency row:
Simply make the desired changes to the column values, then click 'Update' at the row end:

Once you hit the 'Update' button the changes will take effect.
Deleting a currency row:
Simply click the 'Delete' button at the end of the row you wish to remove:

The deleted row will be removed from the screen.
Once you have set your outgoing and incoming fee, click Update

After clicking update your outgoing and incoming fee should be set accordingly.
