The next step after submitting the details, is to choose the product to be purchased as the signup order. In this step, the members are presented with the Shopping Cart, where they can select the items they want to purchase. Let's see how this Shopping Cart page works for the Members on signup.
- Only the products which are marked as Signup (Prospect) in the Product Properties section of the Product Edit page will be displayed in the Shopping Cart.
- The items or the packages which are set as Mandatory on signup will be automatically added to the cart. Check the Shopping Cart widget.
- Selecting a different currency type will refresh the list with the products defined for that currency. Select the option from the Currency drop-list.
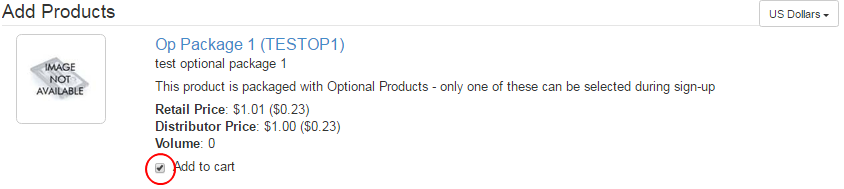
To add a product or an item to the shopping cart, go through the product list and check on the Add to cart box for the items to be purchased.
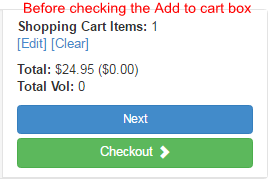
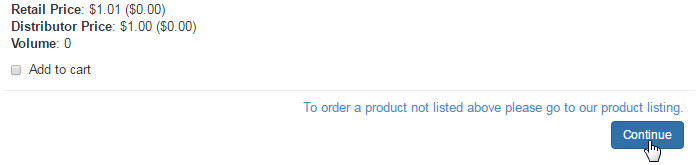
Upon checking the items , notice that the Checkout button in the widget is replaced with a Continue button. Click on that to refresh the cart contents. This will let the user stay on the shopping cart page, or else, by clicking on the Continue button at the bottom, it should take them to the next step.
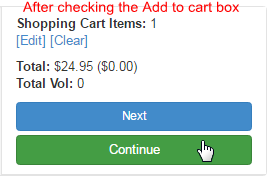
Once the page gets refreshed, the user can either choose to add more items to the cart in the way as mentioned above, or click on the Checkout button on the widget to proceed to the order confirmation page. Once again, clicking on the Continue button at the bottom will do the same.
The list view provides only the summary of the product details. In order to get the full view of the product, click on the corresponding product name.
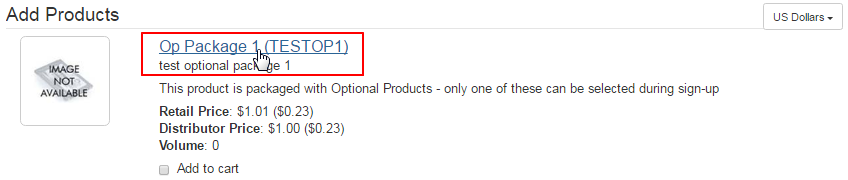
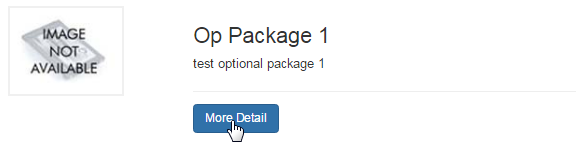
This will take the Member to the dedicated page for the product he has chosen to view in detail. By clicking on the More Detail button below the product name/description, it should pop-up the Full Description (as you have designed the content in the Product Edit page) window of the product.
Next, notice the options on the right hand side of the page. Here's a description of the functions and fields displayed in that box:
- Retail/Distributor Price: The price of each item of that product as specified for Retail and Distributor (Member) purchase.
- Qty: Set the quantity of the product to be purchased by hitting on the increment/decrement button, or by editing the value in the box.
- ITEM CODE: Used to select a different item of the product from the drop-down list. The system will refresh the display accordingly.
- Add to Cart: Clicking on this button will add the selected item to the shopping cart and refresh the values in the widget on the top right.

The member can search for other products via the search engine (including the items which are not marked as signup items), or can click on the Next or the Checkout button on the widget to proceed to the next step. Clicking on the browser back arrow will take him to the shopping cart main page.
As mentioned earlier, the system displays only the products marked as signup items in the shopping cart. However, the member can browse through the entire product list by clicking on the To order a product not listed above, please go to our product listing link at the bottom of the page.

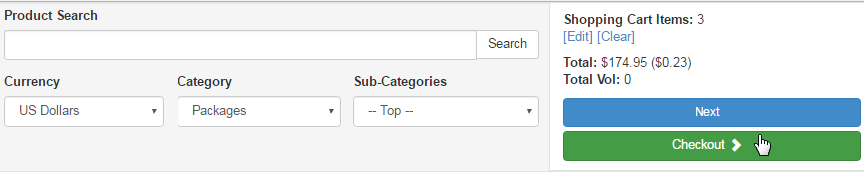
This is where the members can browse through the entire product list of the shopping cart (including the signup products). Notice that the Category and the Sub-Categories drop-down list are provided here in the search area, which gives the members access to all products set up in the shopping cart.

The members can either choose to view the full description of the products by clicking on its name, or adding them to the cart and then clicking Checkout to go to the order confirmation page. This adds the flexibility to browse through the entire shopping cart vs. limiting the user to select from just the signup items only.

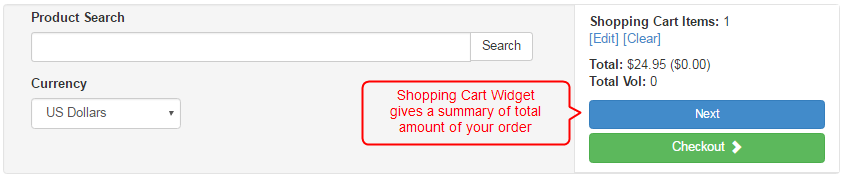
The widget is there until he decides to move to the next step. It is a summary of the items added to the cart along with some cool functions.
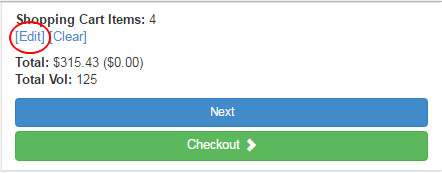
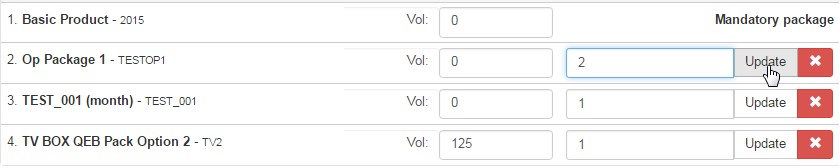
- To manage the items in the cart, click on the Edit link. One can update the quantity of an item by editing the value and then clicking on the Update button or removing the item from the cart by clicking on the corresponding X icon. Note that the mandatory items cannot be edited.
- To remove all the items from the cart (emptying the cart), simply click on the Clear link. Be careful, as the process is irreversible.
- It then shows the total amount that sums up the price of each item, and the total volume associated with the order purchase.
- The member can then choose to Checkout from the shopping cart and proceed to the next step of the process.
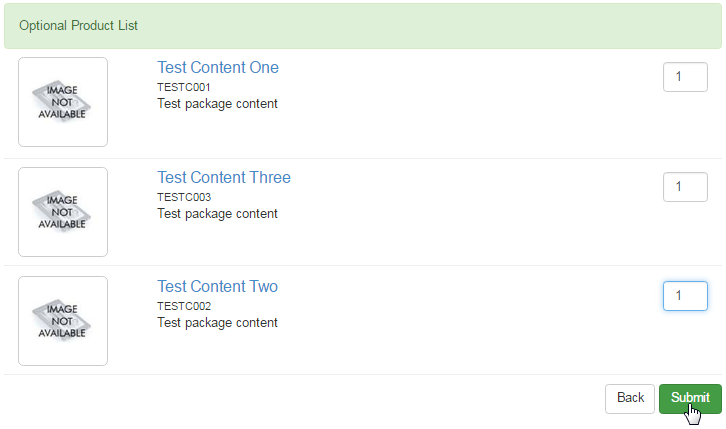
In case the user selects an optional package, he will be provided with the options to choose the same before moving to the next step, i.e. by hitting the Continue button. To start selecting the items for the package, click on the Pick Optional Products button on the left hand side.

In our example, the user needs to add three quantities of the items in order to fulfill the package/order. Edit the values as preferred and then click on the Submit button to save the changes. Note that the system will not the let the user proceed to the next step unless this criteria is fulfilled.
The criteria for the optional package can be set in the in the Product Edit page. Visit the manual to learn more about Package Selection Feature.