Step One of Product Entry:
Let's add a Product.
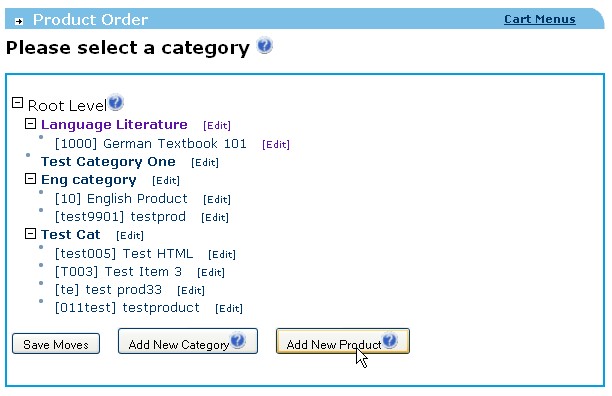
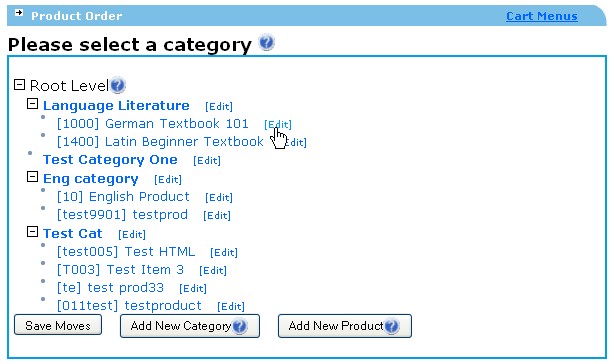
Admin Main >> System >> Product Maint >> Click "Add New Product"
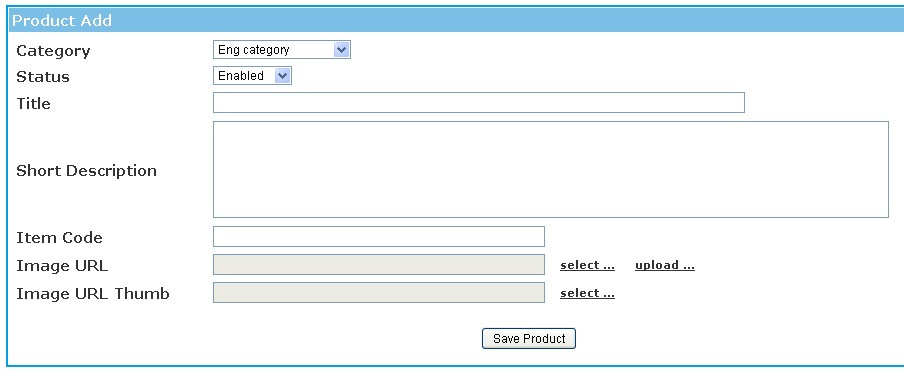
Category: Select the category from the drop down that you would like this product to exist in.
Status:
- Deleted: Product is completely disabled from the system and will be deleted, you can never restore this product.
- Disabled: Set product to Disabled will, members and prospects cannot see this product, however is still visable from admin. Product will appear with a line through it to let you know disabled from member's view.
- Enabled (default): Will enable to product in all views.
- Read Only: If set to this will only admin admin with full access can edit the product, product will also be enabled.
Title: Enter a title for this product.
Short Description: The short description is just a paragraph or few sentences, you will have a place in step 2 to put a full description into the system. The Short Description is the description that will show up beside the product in the Shopping Cart view, and the Full Description that you will be able to enter in a little bit will show when they click on the More Info link in the Shopping Cart.
Item Code: Enter the Item Code that you want to use for this product. This can be letters or numbers or a combination of both.
Image URL: Image URL is the image you want to appear with the full view of the product. This is where you can upload a picture that corresponds to your product you are entering, alternatively click select to select an existing image.
- No Image: Make sure you check this box if you do not intend to upload a picture or you will see the little missing picture x in your browser.
Image URL Thumb: Image URL Thumb goes along side the Short Description in the category view. Click Select to select an existing image, alternatively click Upload next accross from Image URL to upload a new image. An image thumb is a small image of the product used as a display picture.
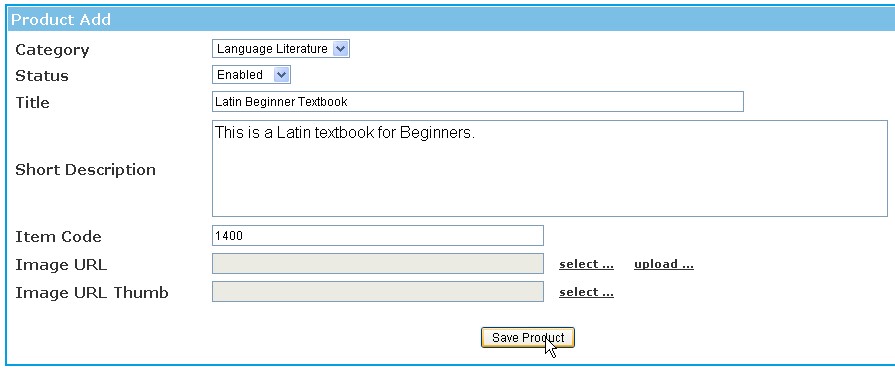
Upload or select an image if you want one for this product. Hit 'Save Product'.
If all went well, you will see a "Success" message. Click 'OK'.
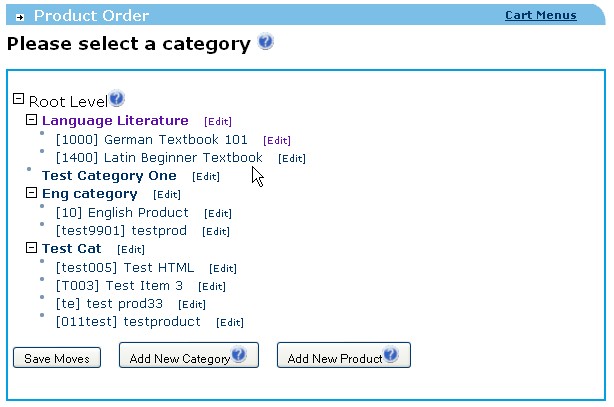
You should be brought back to the Product Entry/Edit page.
Step 2 of Product Entry:
Select 'Edit' beside the product you just entered.
You will be brought to a page that the top looks just like step 1 and all the information you entered is there for you to see. You will also see a lot more interesting information that needs to be entered.
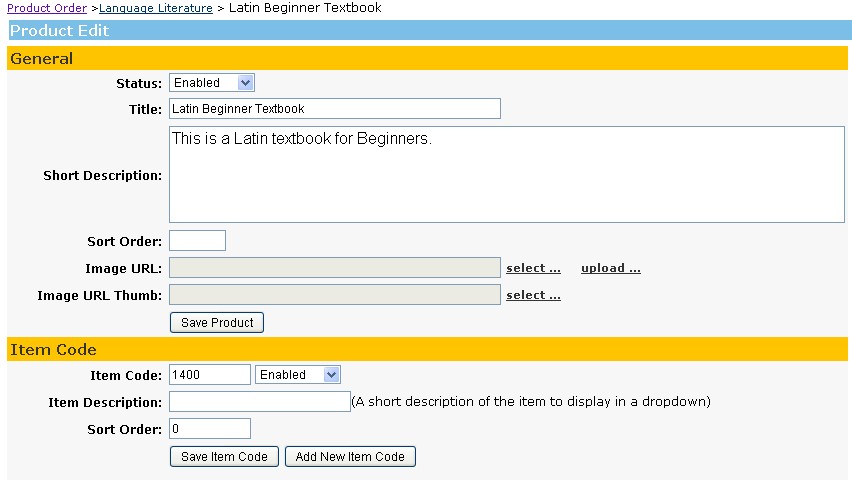
General:
- Status – This is where you set the product status, see Product Setup – Part 1.
- Title: This is the product title.
- Short Description: The short description is just a paragraph or few sentences.
- Image URL: Image will appear with the full view of the product.
- Image URL Thumb: Image URL Thumb appears in the category view.
Click 'Save Product' to save all information from the General tab.
Item Code:
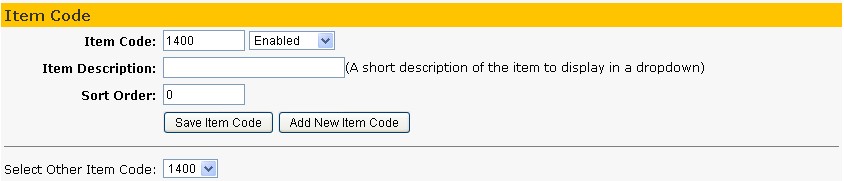
By adding a new Item Code you are effectively adding a new product – while the General information area stays the same everything else changes.
To add a new item code simply type in the desired information over the existing and click Add New Item Code. You can select which Item Code you wish to edit in the Select Other Item Code box.
- Item Code: This is the products individual item code
- Item Description: This is a place to enter a description that will only show up in a dropdown when there is a product with variations of the product. For example a Nutritional product that comes in a 100 capsule bottle, and a 250 capsule bottle. In this area, you would put "100 Capsule Bottle". If no variations, you still need to enter something very short to make sense here.
- Sort Order: Is where you determine which order the products are going to display in. Lowest number will display first and higher numbers will follow.
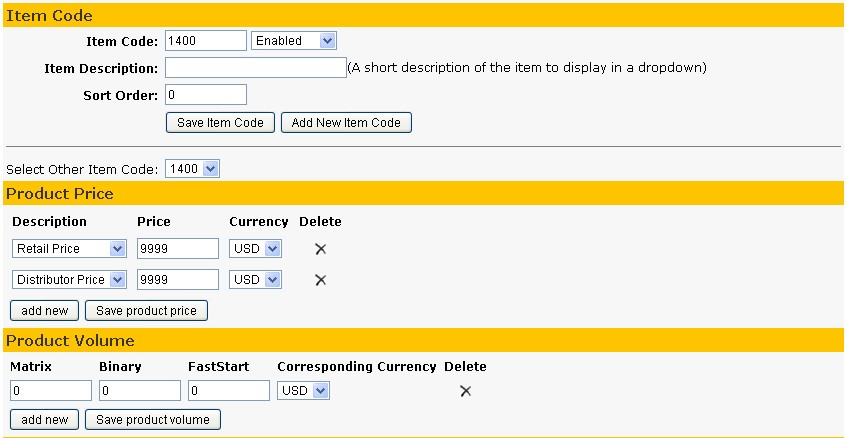
Product Price:
This is where you can set up the pricing levels on your products. You can set up a Retail and a Distributor Price.
- Description: Select whether you want the price to be the Distributor price or Retail with the Drop Down. Distributor price is the price that your distributors pay for the product, while the retail price is the price customers pay ofr the product.
- Price: Set the price here. You MUST setup distributor and retail prices, weather you intend to use them or not.
- Currency: This is the currency the product will be displayed in, if have multiple currencies select which currnecy you with from the drop down.
- Delete –: Click the big X under Delete heading to delete the product. Confirm you want to delete.
When you are happy with Product Price hit Save Product Price.
Product Volume:
You can add a different point volume for each currency you are using in the system. If you are only using 1 currency, then you will only have 1 volume. This is the point volume for your commission plan, so your CV or BV depending on the lingo of your company. Click "Add New"
Put in how many points for the currency you wish, which can be selected from the list if you have more than 1. Hit 'Save Changes'. Hit 'OK' on the "Successful" message.
- Matrix: Use for Matrix compensation plan, note that this text can to change to suite your system in Translate.
- Binary: Use for Binary compensation plan, note that this text can to change to suite your system in Translate.
- FastStart: Use for FastStart compensation plan, note that this text can to change to suite your system in Translate.
- Corresponding Currency:
- Delete: Click the big X under Delete heading to delete the product. Confirm you want to delete.
Product Details:
This is where you will enter particular product attributes for a given product like weight for shipping, or size for shipping etc. If you need an attribute that is not there, let us know and we can add it.
- Description: Click here to view product details as can be selected from drop down.
- Value: Is defined depending on what Description you choose.
- Delete: Click the big X under Delete heading to delete the product. Confirm you want to delete.
Package Contents:
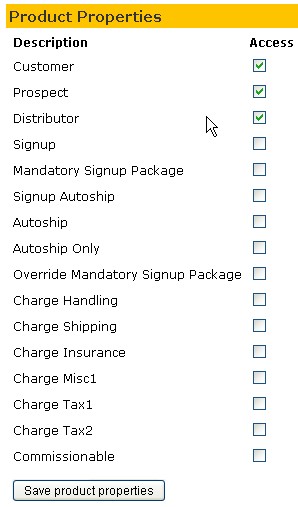
Product Properties:
Hit Save Product Details to save changes when finished.
- Customer: Check this box if you want this product to show up in the customer or non member shopping cart area.
- Prospect: Select this box if wish prospects to be able to see this product, prospect also includes signup.
- Distributor: Check this box if you want this product to show up in the distributor shopping cart area.
- Mandatory Signup Package: Tick Mandatory Signup Package if you wish the package to be essential when the prospect signs up. This is for distributor only.
- Signup Autoship: The 3rd step in a signup is to select the products you would like on your autoship. Of course you will not be shipping an autoship package till your following month or period in the business but this check box is to signify you want to showcase the product in the autship set up area of signup. Same rules as Signup package apply.
- Autoship: Make this product avialable on autoship.
- Autoship Only: This product is only aviable on autoship. Cannot purchase this product from Product Order.
- Override Mandatory Signup Package: By Selecting this, you will make this product override the need for a Mandatory Signup Package and instead this product takes the place of it.
- Charge Handling: If you wish to charge handling tick this box, setup handing here
- Charge Shipping: If you wish to charge shipping tick this box, setup shipping here
- Charge Insurance: If you wish to charge insurance tick this box, setup insurance here
- Charge Misc1:
- Charge Tax1: This is an override to the system setting. If you put a tax1 in the tax tables in System the system will automatically charge that tax on all products, but if you uncheck this box, it will not charge tax 1 on this particular product.
- Charge Tax2: The same as Charge Tax1 but refers to Tax2 set up in the tax tables in system.
- Commissionable:
Product Download:
- Downloadable: Select, Yes or No to wheather you want the product to be downloadalbe to not.
- URL of File: Click Browse... to choose the location on your computer you with to upload file from.
- Uploaded File:
- Number of Downloads Allowed: Enter the maximum number of times you wish the file to be able to be downloaded.
- Time Limit of Download: After product is purchased this is the limit the user has to download the product.
- Select Email: Once purchase product, select email would like to send if relivent.
Full Description:
Product For Admin Only Use:
Create the product that you want created.
When you are done, save product and then click 'edit' and it will take you to the edit page.
Under 'Product Properties' There is no 'Admin Only' check box as Admin can access any product by default.
Please untick 'Customer', 'Prospect' and 'Distributor' then be sure to save changes.
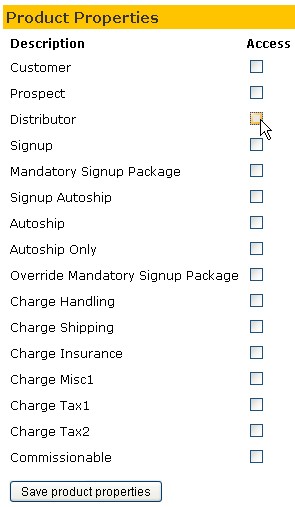
You will not see the item in 'Product List' when you click the 'Product List' button in Admin order, because the product is not set for Customers or Distributors to see. To see an Admin only product, there is a link called 'Product Order' just above the 'Order Checkout' Text, click this then select the product.